Balls > Precisions and qualityGrade of balls
The use or recommendation of balls requires mastery of the precision criteria that define the ball.
These criteria are mainly:
- Diameter and its precision (tolerance)
- Sphericity or shape defect
- Roughness or surface defect
These criteria are developed in various standards.
These standards group the various criteria in “grades”. Each grade is followed by a number. The lower the value of the number the greater is the precision. The standard ISO 3290 is the reference internationally. It is chiefly used in Europe.
However these standards are slightly different according to the geographical zone. The standard AFBMA is more commonly applied in the USA and the old standard DIN is still used in Germany.
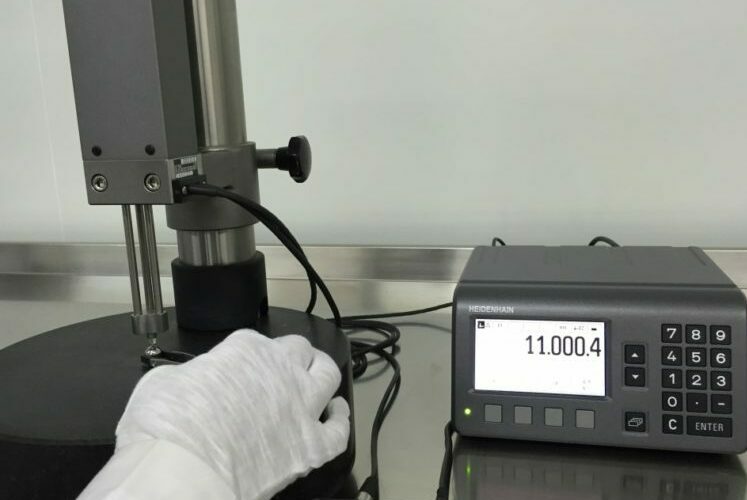
The grades in question range from grade 3 to grade 2000. Each grade considers the variation in diameter, errors of sphericity and roughness in the ball and the batch of balls. These variations are imperceptible to the naked eye and only vary by a few microns. CIMAP carries out checks with highly sophisticated equipment in order to guarantee the quality provided.
These tolerances exist as well for plastics even if they are less complex. The grades used for plastic balls are grades 1 and 2. Please contact us if you want more information
According to ISO 3290 – 2014 STANDARD:
| Grade | Diameter variation of a ball µm Vdws * | Spherical error µm * | Roughness | Diameter variation of a batch of balls | Ranking interval | Dispersion of recommended classes | Subclassing interval | Dispersion of subclasses |
|---|---|---|---|---|---|---|---|---|
| µm Ra* | µm Vdwl | µm | (sorties) µm | µm | µm | |||
| 3 | 0,08 | 0,08 | 0,010 | 0,13 | 0,50 | +/-5 | 0,10 | +/-0,2 |
| 5 | 0,13 | 0,13 | 0,014 | 0,25 | 1,00 | +/-5 | 0,20 | +/-0,4 |
| 10 | 0,25 | 0,25 | 0,020 | 0,50 | 1,00 | +/-9 | 0,20 | +/-0,4 |
| 16 | 0,40 | 0,40 | 0,025 | 0,80 | 2,00 | +/-10 | 0,40 | +/-0,8 |
| 20 | 0,50 | 0,50 | 0,032 | 1,00 | 2,00 | +/-10 | 0,40 | +/-0,8 |
| 24 | 0,60 | 0,60 | 0,040 | 1,20 | 2,00 | +/-12 | 0,40 | +/-0,8 |
| 28 | 0,70 | 0,70 | 0,050 | 1,40 | 2,00 | +/-12 | 0,40 | +/-0,8 |
| 40 | 1,00 | 1,00 | 0,060 | 2,00 | 4,00 | +/-16 | 0,40 | +/-1,6 |
| 60 | 1,50 | 1,50 | 0,080 | 3,00 | 6,00 | +/-18 | 0,80 | +/-2,4 |
| 100 | 2,50 | 2,50 | 0,100 | 5,00 | 10,00 | +/-40 | 1,20 | +/-4,0 |
| 200 | 5,00 | 5,00 | 0,150 | 10,00 | 15,00 | +/-60 | 2,00 | +/-6,0 |
* Note: The values given in these columns do not take into account surface defects; consequently, measurements must be made without such defects.
According to ANSI/AFBMA STANDARD – 10.1989
| Grade | Single ball diameter variation (µm Vdws *) | Sphericity error (µm *) | Surface Roughness | Diameter variation within a lot of balls | Nominal diameter tolerance | Permissible output dispersion | Output interval |
|---|---|---|---|---|---|---|---|
| µm Ra* | µm Vdwl | µm | µm - Δs | µm | |||
| 3 | 0,08 | 0,08 | 0,012 | 0,13 | * | +/- 0,75 | 0,25 |
| 5 | 0,13 | 0,13 | 0,020 | 0,25 | * | +1,25/-1 | 0,25 |
| 10 | 0,25 | 0,25 | 0,025 | 0,50 | * | +1,25/-1 | 0,25 |
| 16 | 0,40 | 0,40 | 0,025 | 0,80 | * | +1,25/-1 | 0,25 |
| 24 | 0,60 | 0,60 | 0,050 | 1,20 | * | +/-2,50 | 0,25 |
| 48 | 1,20 | 1,20 | 0,080 | 2,40 | * | * | 1,25 |
| 100 | 2,50 | 2,50 | 0,125 | 5,00 | +/- 12,50 | * | * |
| 200 | 5,00 | 5,00 | 0,200 | 10,00 | +/- 25,00 | * | * |
| 500 | 13,00 | 13,00 | * | 25,00 | +/- 50,00 | * | * |
| 1000 | 25,00 | 25,00 | * | 50,00 | +/- 125,00 | * | * |
*Not applicable
Perfect knowledge
CIMAP has a thorough understanding of all these factors, making our role particularly important for our clients and prospects:
Define and support their projects,
Advise them and propose quality and/or material improvements at all times,
Consistently deliver top-notch quality.


